Day 3: Setting up your Ayurvedic Kitchen
Published on September 8th, 2018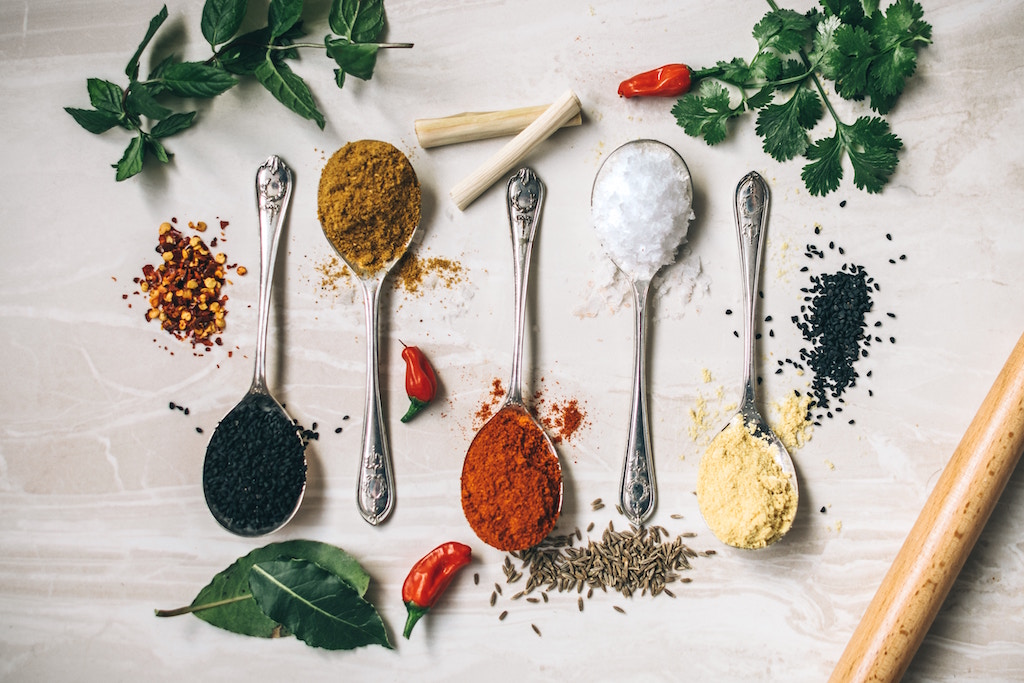
Ayurveda teaches us to live in harmony with nature.
It is all about learning to love yourself, love real food, and discover how to prepare wholesome meals to improve your health. The preparation and consumption of food have a direct effect on the mind, body, and soul. So, in order to embrace Ayurveda, we need to not only be mindful of what we’re eating but also how we’re preparing and consuming it.
![]()
Are you eating in a noisy environment?
Are you distracted by your phone or computer while trying to prepare or eat your food?
Are you emotional eating or overeating?
Are you drinking cold water before, after, or during your meal?
Are you snacking between meals?
Are you eating incompatible foods together?
These are just some of our common improper eating habits which with a little effort and practice, we can eliminate.
How can you use your Ayurvedic Kitchen to promote balance within yourself?
Setting up an Ayurvedic Kitchen doesn’t have to cost you hundreds of dollars or even be complicated. You probably already have many of these things in your Kitchen. I’ve simply compiled a list here to make it easier.
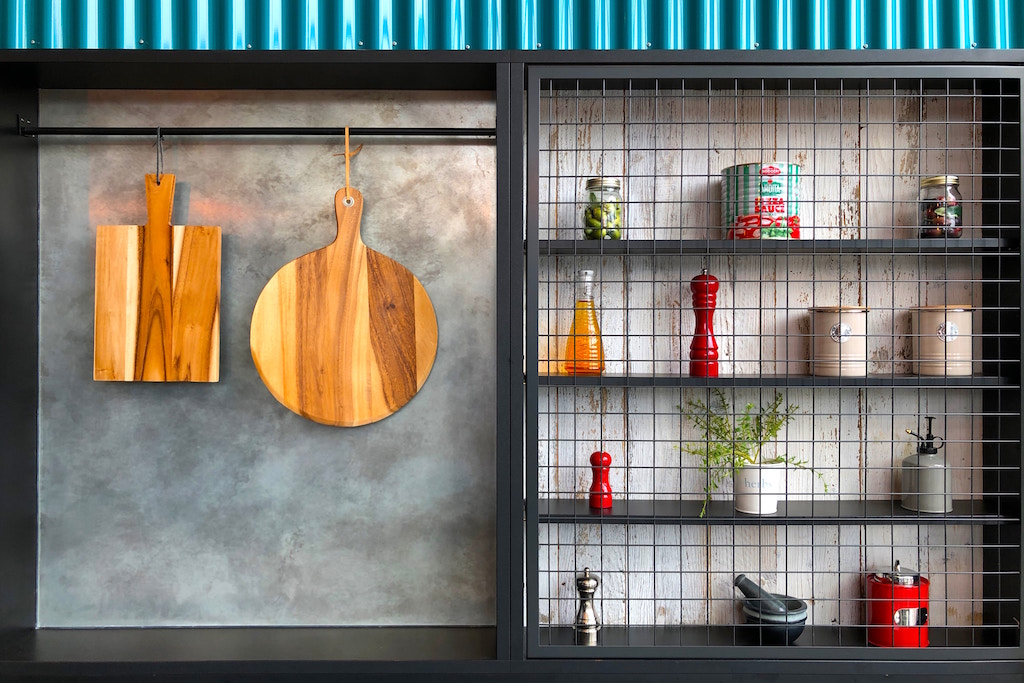
Cookware and Gadgets:
– 2-3 different sized stainless steel pots with lids (Try to avoid non-stick and aluminum surfaced pots and pans when cooking. These can sometimes give off toxic chemicals under high heat.)
– Stainless steel or cast iron pan
– Glass baking dish
– Grater
– Fine mesh sieve
– Pressure Cooker/Rice Cooker (I love my Instant Pot which is like an all in one!)
– Coffee grinder (for blending spices)
– Food Processor
– Blender
– Glass Mason Jars for food/grain/beans storage
Beans:
Dry beans are easier to digest and provide more nutrition to the body compared to canned beans. Soaking dry beans or even just placing them in a pressure cooker for a couple of minutes doesn’t take much time and is the preferred method of bean preparation and consumption in Ayurveda.
– Split yellow mung beans
– Black beans
– Chickpeas (whole and split)
– Green Mung beans
– Adzuki beans
– Red lentils
– Green lentils
Grains:
– White Basmati Rice
– Whole wheat flour
– Oats
– Quinoa
– Barley
– Buckwheat
– Millet
– Amaranth
Spices:
– Cardamom powder
– Coriander seeds
– Cinnamon powder
– Fennel seeds
– Cumin seeds
– Turmeric
– Ginger powder
– Sea Salt
– Black Salt
Oils, Fats, Nuts, Seeds, Dairy:
– Ghee (or unsalted butter to make Ghee at home)
– Coconut oil
– Chia Seeds
– Flax Seeds
– Almonds
– Dates
– Yogurt
– Sucanat
– Honey
Not sure where to find these Ayurvedic kitchen staples? It might be worthwhile to head to your local Indian Grocery Store to do the initial stock up. Or you can go to a Whole Foods Market or even use Amazon. I’ve included some of the products I’ve tried and liked below.
In the upcoming weeks, I’ll share recipes for spice blends specific to each Dosha so that we don’t have to constantly look up which spices are best for our Dosha.
We are not trying to provoke anxiety by adopting this new lifestyle! And I know that thinking about incorporating all of these grains, lentils, spices into your diet can be overwhelming.
I spend 40 hours a week at work and then come home to an 18 month old, stress about food and cooking is not something I’d like to add to my plate! So we’re going to try to make this as simple as possible : )
Leave me a comment letting me know if there’s anything in particular I should focus on over the next 2 days. Stay tuned for Day 4.
Namaste.
This post may contain Amazon Affiliate links from which I may earn a small commission. At Honey, Ghee, and Tea, my readers’ health and wellness is my #1 priority, therefore I only recommend products that I have personally tried myself.
0 Comments